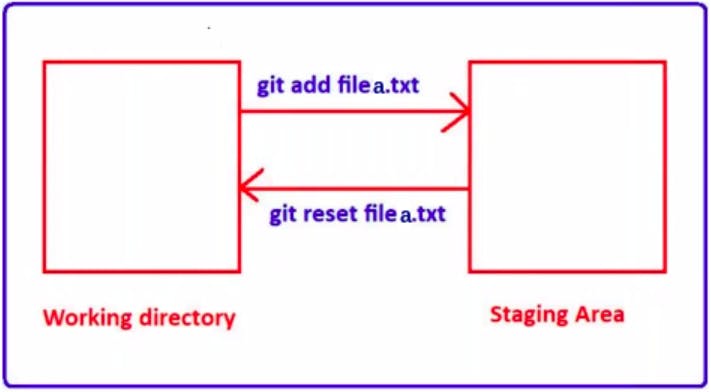
Sometimes, we might make a change to our code that we later decide we don't want to keep. The reset command is a tool in Git that can help us to undo changes and move our code back to the previous state.
Imagine we're working on a drawing, and then decide we don't like the colour we just added. We can use an eraser to remove the colour and go back to the previous state. In Git, the reset command works similarly.
When we run the reset command, we're telling Git to move our code back to a previous point in time. There are different ways we can use the reset command, depending on how we want to undo changes. For example, we can use reset to undo changes we've made but haven't yet saved (in Git, we call these "staging" changes), or to undo changes we've already saved.
Just like with an eraser, it's important to use the reset command carefully. If we're not sure what we're doing, we might accidentally erase something that we didn't mean to. But with practice and careful use, reset can be a powerful tool for managing our code changes in Git.
There are two utilities of the command git reset
Discard / Remove the changes from the Staging Area.
Undo Commits At the Repository level
Discard Changes From The Staging Area
Suppose there are all three Areas present for a directory.

Let’s consider there are multiple Commits /Versions present in the Local Repository.
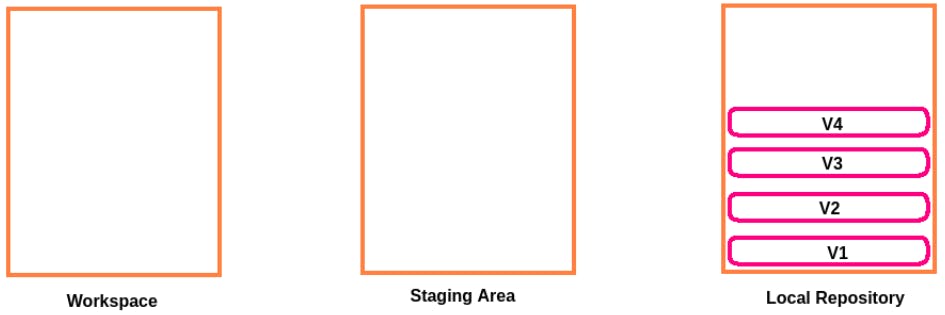
We did some changes in the Working Directory, and now we have to Commit those changes then we have to add those changes to the Staging Area using the command git add. And after that, the changes will be added to the Staging Area.

After that, we’ll Commit those changes.
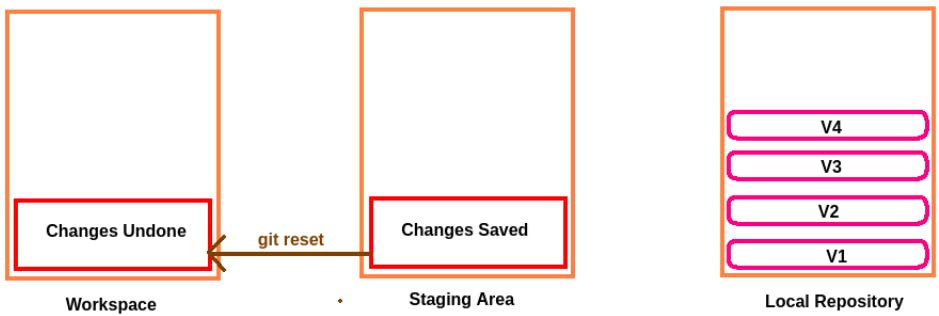
Now, the first utility of the command git reset is whatever changes we have added to the Staging Area we can discard those changes (By mistake we added the changes, but still few more changes have to be made before committing the changes).
So, whatever changes we added to the Staging Area by default will be reset back. So, if such a case is required, then we’ll have to go for the command git reset.
Undo Commits At Repository Level
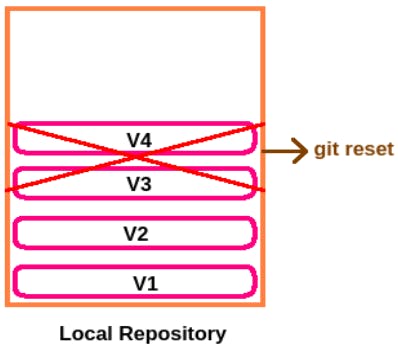
In the Local Repository, till now 4 commits have been made.
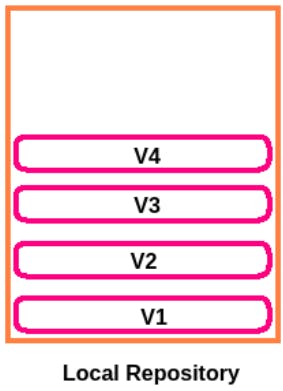
Now, let's consider we have to discard whatever commits that have been made after Version2**/Commit 2**.
As the Second utility of the command git reset is whatever Changes /Commit we have added to the Local Repository we can discard those changes.
Utility 1: Discard/Remove Changes From Staging Area
In this case whatever changes are added to the Staging Area, if we don't want to use the commit operation, but want to add more changes then we require to use the command git reset. It’ll bring changes from the Staging Area back to the Working Directory.
Example:
Create a Working Directory “project7” and enter that Workspace. Automatically, Version Control is not Applicable for the Workspace.

Now, We have to Initialize an Empty Local Repository for the Workspace then only the Version Control will be applicable.
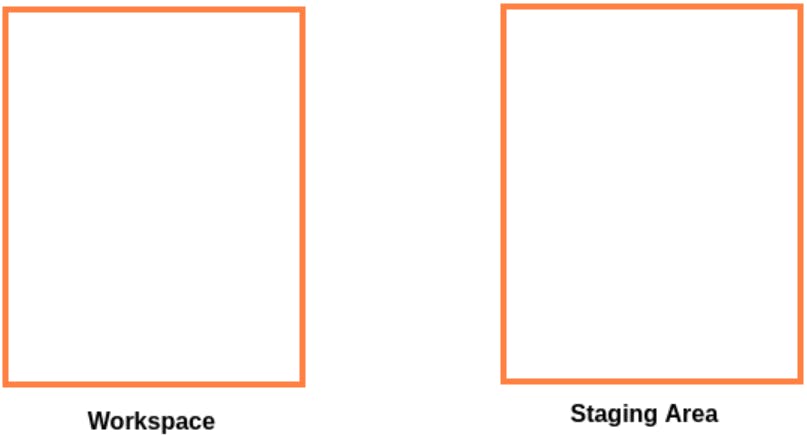
So, to Initialize an Empty Local Repository for the Workspace we’ll use the command git init.

Now, an Empty Local Repository is available for the Workspace and the Master Branch is also available.

Create a file “a.txt” in the Workspace and add a line “First line in a.txt”.


Now, add both files to the Staging Area. For this operation, we’ll use the command git add .

Both files will be now added to the Staging Area.
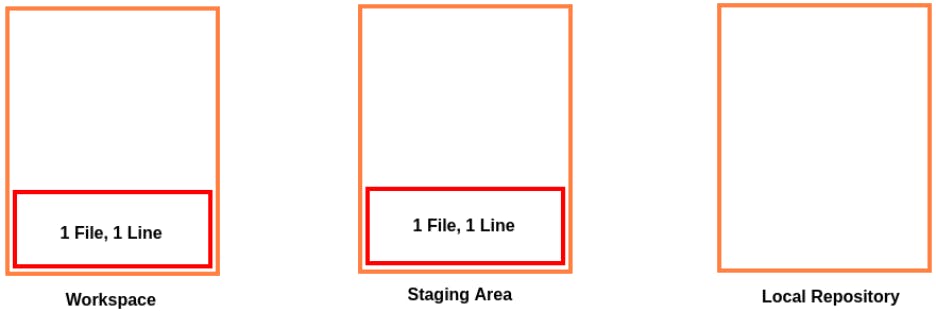
Now, we’ll commit the files to the Local Repository. For this operation, we’ll use the command git commit -m <Commit Message>
In our case, the command will be git commit -m "Files a.txt added"

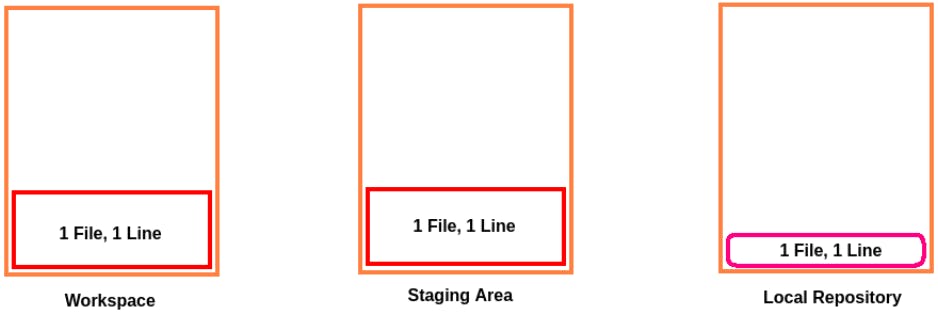
If we’ll check the Status of the git then it will tell us the Working tree is clean and there is nothing to commit.

Now, we'll add / Modify the file “a.txt”. Add one more line “Second line in a.txt”.

Now, if we’ll check the status of the Git, then it’ll display that the file “a.txt” has been modified. Modified Changes not staged for commit. That is we didn’t add the changes to the Staging Area.

Now, add the changes in the Workspace to the Staging Area. For this operation, we’ll use the command git add <Filename> .
In our case, the file that we have to add to the Staging Area is “a.txt”. So, we’ll use the command git add a.txt.

Now, the file “a.txt” has been added to the Staging Area.
Now, if we’ll check the status of the Git, then it’ll display "On branch master, changes need to be committed".

Now, if there is a condition in which we thought that the file “a.txt” which has been modified now, won’t be a part of the commit. By mistake, we added it to the Staging Area. So, we can revert that particular change.
For this, we’ll use the command git reset <filename>
filename: The file that needs to be discarded/reverted/ignored.

Now, the changes will be removed only from the Staging Area, and not from the Working Directory.
To confirm that, we'll check the status of the git repository using the command git status. It’ll be displaying that the file “a.txt” has been modified. Modified Changes are not staged for commit. That is, we haven’t added the changes to the Staging Area.

So, the changes reverted now. So, whatever changes we added to the Staging Area will be discarded.
